Instructions
- Begin by opening adobe xd in any size artboard
- On the thin Left panel there is mutiple tools
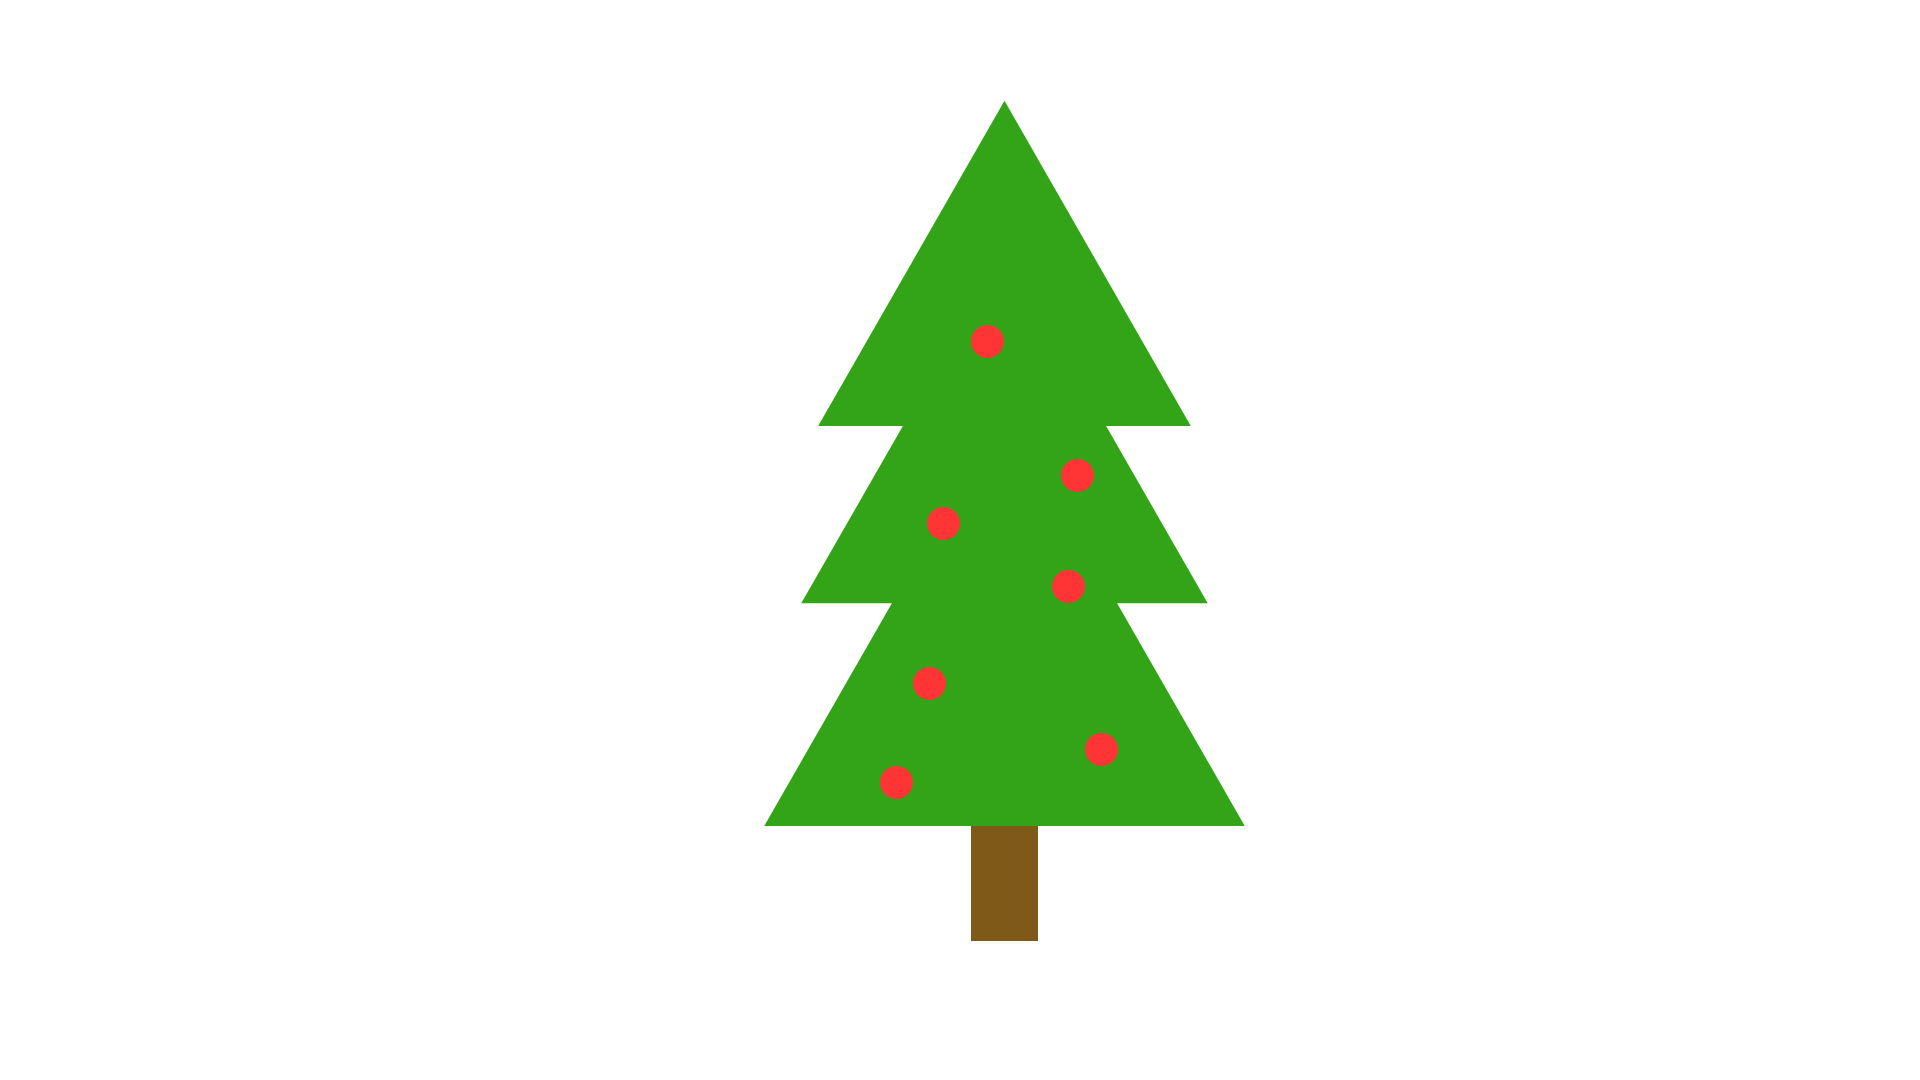
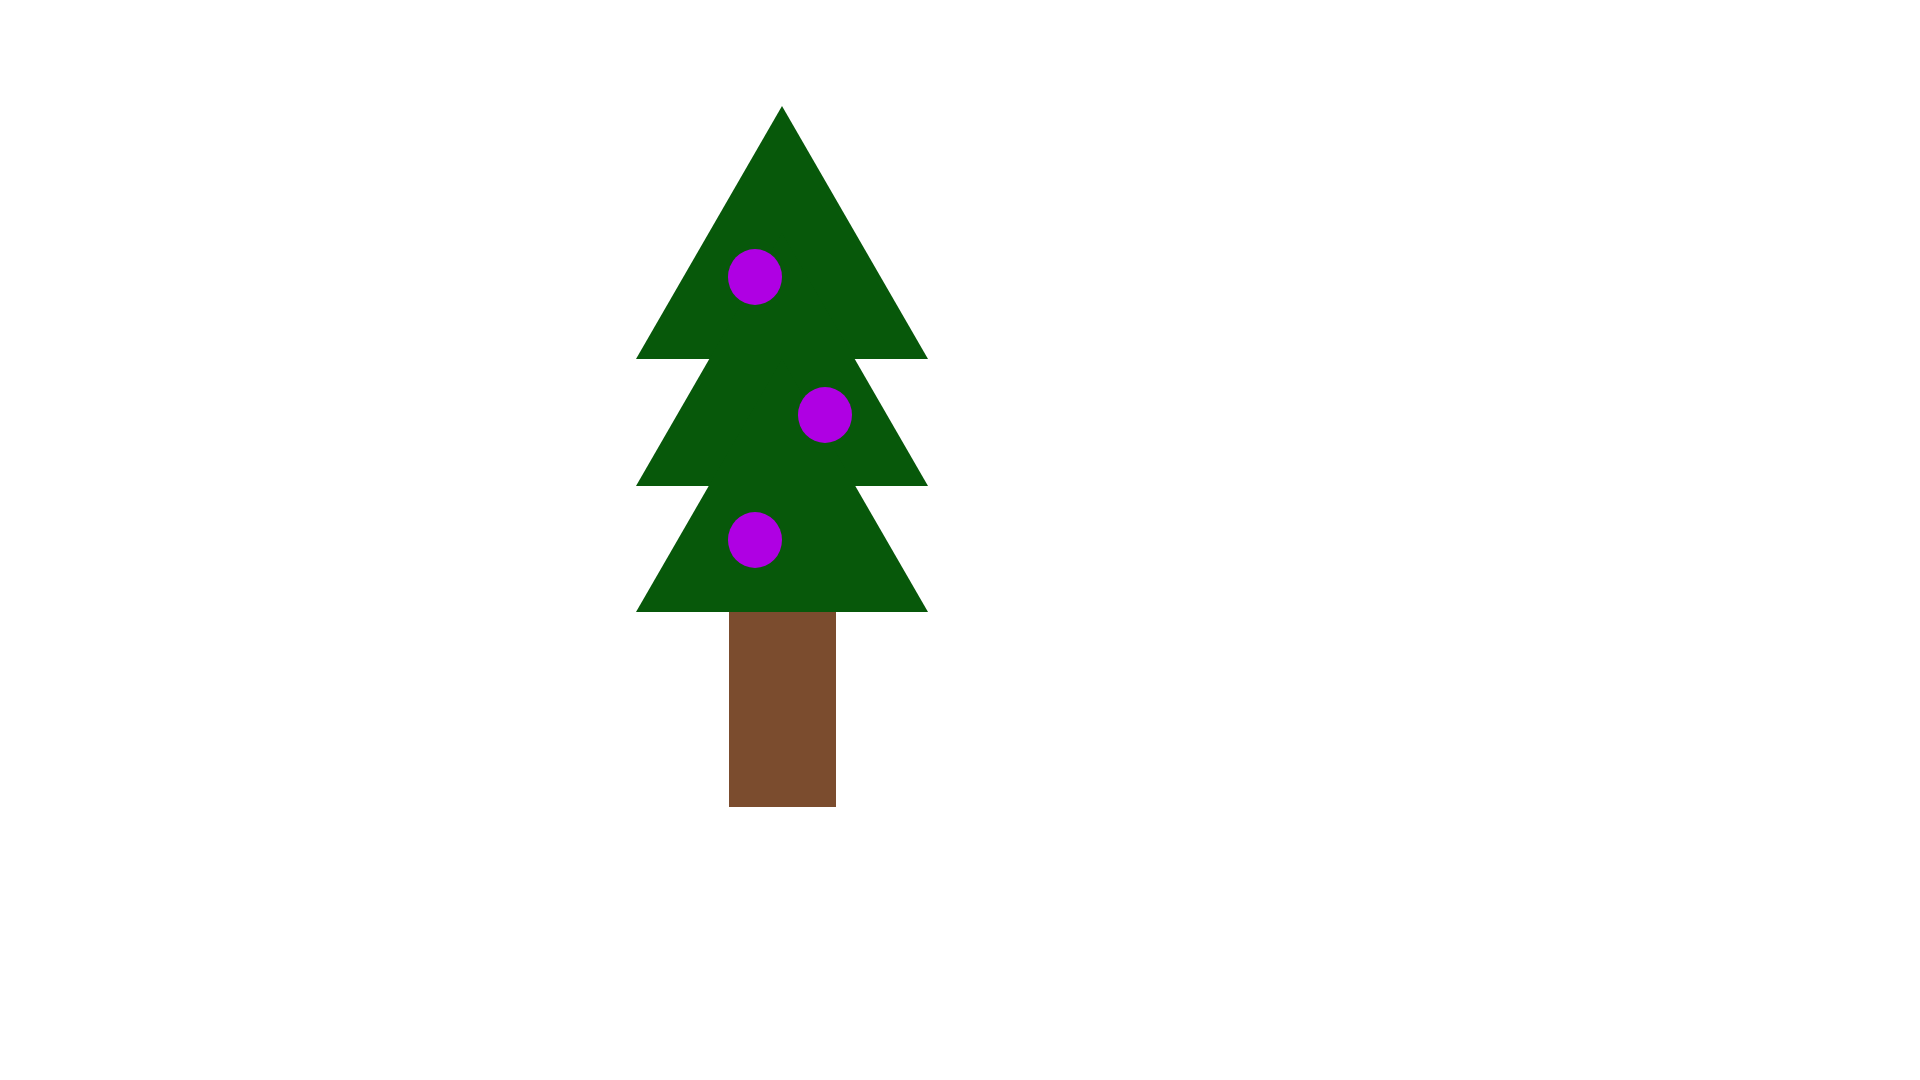
- Begin by selecting 4th botton from the top shaped like a triange. Click and drag while holding shift anywhere on the artboard to create a even triangle, roughly the size 1/4 of the height of your art board. The point of the triangle should be pointing up, and the base should be horizontal at the bottom.
- Next we are going to recolor your triangle, While selected there should be an active blue boundary box. On the right of your screen there is another wider panel. Within it underneath the appearance section there are two buttons. Fill and Border. Uncheck the border option. For the Fill select a color that resembles a dark green.
- We need 3 triangles, Back in the left panel at the top there is a botton that resebles a comupter mouse. Click that and select the trangle on your page. When clicking hold the alt key on your keyboard or (you can left click to copy and paste) to get 3 of the same triangle to appear on your screen.
- Reposition these triangles with the selection tool and mouse to get the triangles in the same line vertically. We are going to reposotion the triangles in the center of your screen. As you click an drag a blue line should appear. Stack these triangles so they are layer on top of another the point should overlap the bottom about half the way and appear as a tree. Use all three trianges for a three layer tree
- Using the square tool we are going to make a small tree trunk. Select that tool and click and drag to draw a rectagle to make the trunk to the shape of your liking. Recolor the shapes deselcting the border option, and setting the fill color to any brown color you like. Once complete select the selection tool again to reposition the trunk at the base of your tree. Make sure its aligned center (this should be at the bottom of your 3 tiered layered triangles). If the rectangle is on the top layer you can send it to the back pressing ctrl shift and [ at once
- Optional, Using the circle tool click and drag while holding shift to create small decorations for your tree. Using the right panel from before, recolor the fill to be any red color, and remove the border. While holding alt you can click and drag to duplicate and place more decorations. Make sure you are placing them on top of the green triangles. You can place as many or as little decorations as you want.
- Once your drawing is completed you can go to file, export, selected artboard, and export as a png. Keep in mind the file location. Please send in email as an attatchment to tbradshe@gmu.edu


